
Updated
Lithophane maker:
turn a photo into a print that glows
A lithophane is a photo that glows when lit from behind: a thin 3D-printed panel whose thin areas let light through while thick areas stay dark. Make one as a flat panel for a frame, a curved panel for a night light or a full cylinder for a lamp shade. Upload a photo, set the size and thickness, check the 3D preview and download STL or 3MF. Everything runs in your browser.
- Free, no sign-up, no watermark
- Your photo never leaves your device
- Flat, curved or cylinder lamp shade
- Closed STL or 3MF that slicers accept as-is
Drop an image here
PNG, JPG, WebP, GIF or BMP, up to 25 MB. Bright photos with a clear subject work best.
Output type
A thin panel where darker areas are thicker. Print it upright in white filament and put a light behind it.
Shape
A flat panel for a frame or light box. Stand it on its long edge in your slicer.
Detail
Smoothing
- Size (W × D × H)
- —
- Triangles
- —
- STL file
- —
- Mesh
- —
How a lithophane works
Thickness becomes brightness
Light passes through thin plastic and is blocked by thick plastic. The maker reads the brightness of every pixel and sets the panel's thickness to match: white prints at the thinnest point, black at the full thickness. With the default settings that range runs from 0.8 to 3.2 mm.
0.8 mm
1.4 mm
2.0 mm
2.6 mm
3.2 mm
Thinnest point: 0.8 mm
Sets how brightly the highlights glow. Thinner panels glow more but are more fragile; most guides start between 0.6 and 0.8 mm.
Extra thickness for dark areas: 2.4 mm
Sets the contrast. More depth makes shadows darker but blocks more light, so the panel needs a stronger lamp.
About 3 mm in total
Common lithophane guides put the finished panel at roughly 3 to 3.5 mm. The default 3.2 mm sits in that range.
Photo
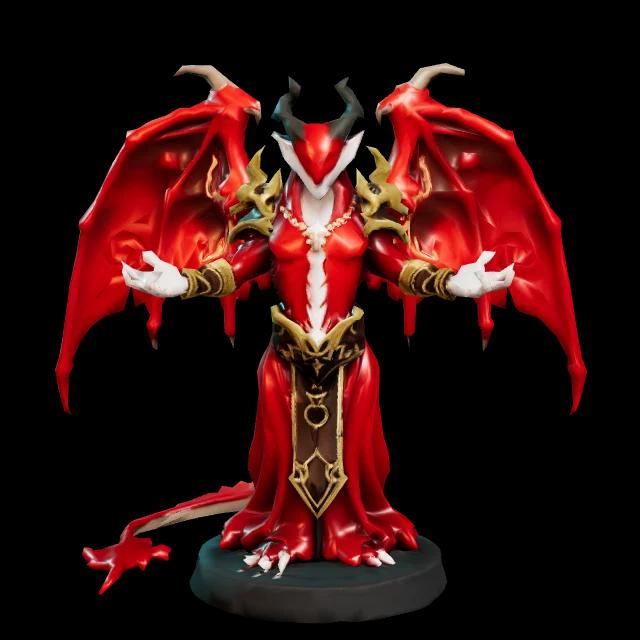
Backlit lithophane (simulated)
How to make a lithophane
From photo to lithophane in four steps
No account and no software to install. The file is built on your device and opens in any slicer.
- 01
Upload a photo
Choose a JPG, PNG or WebP up to 25 MB. Crop it first: the panel follows the photo's aspect ratio.
- 02
Pick a shape, size and thickness
Choose a flat panel, a curve or a full cylinder, then the size in millimetres. The thinnest point controls how bright highlights glow; the extra thickness controls contrast.
- 03
Check the backlit preview
Preview your chosen shape with simulated backlighting before you print. The final appearance depends on your printer, filament and light source.
- 04
Download and print upright
Download STL or 3MF. Stand a flat panel on its long edge in your slicer (curved and cylinder files already stand upright), print in white PLA with 100% infill and hold it up to a light.
Tool settings
What each setting changes
The defaults suit a 100 mm wide panel printed with a 0.4 mm nozzle. You can return to them at any time with "Reset to recommended settings".
| Setting | Default | Range | What it changes |
|---|---|---|---|
| Shape | Flat | Flat, Curved, Cylinder | Curved bends the panel around a vertical axis; Cylinder wraps the photo into a closed lamp shade. Both download standing upright. |
| Width | 100 mm | 40–250 mm | Wider panels show more detail. The height follows the photo's aspect ratio. On a curved panel this is the width along the curve. |
| Curve angle | 120° | 60–180° | Curved panels only. How far the panel bends: 180° is half a cylinder. A larger angle gives a tighter curve at the same width. |
| Inner diameter | 70 mm | 40–100 mm | Cylinders only. The photo's width wraps once around this circle and the height follows its aspect ratio, so a square photo on a 70 mm cylinder stands about 220 mm tall. |
| Thinnest point | 0.8 mm | 0.4–2 mm | Thickness of the white areas. Thinner glows brighter but breaks more easily. |
| Extra thickness for dark areas | 2.4 mm | 1–5 mm | Added on top of the thinnest point where the photo is black. More depth, more contrast. |
| Detail | Fine | Draft, Standard, Fine | 150, 250 or 400 samples along the photo's longer edge. Fine gives smoother tones and a larger file. |
| Smoothing | Low | Off, Low, Medium, High | Softens photo noise and JPEG artefacts that would show as speckles when lit from behind. |
Print settings
Slicer starting points for lithophanes
Light shining through a lithophane shows every flaw, so it prints slower and denser than most models.
| Slicer setting | Starting point | Why |
|---|---|---|
| Orientation | Upright, on its long edge | The nozzle's sideways moves then draw the thickness, so tones change smoothly instead of in steps of one layer. Curved and cylinder files already stand upright. |
| Layer height | 0.12 mm | Thinner layers hide the lines across the picture. 0.16 mm is a faster compromise. |
| Infill | 100% | Any gap inside the panel shows up as a blotch when it is lit from behind. |
| Print speed | 30–40 mm/s | A tall, thin panel wobbles at speed; printing slowly keeps fine detail sharp. |
| Brim | On, a few mm | An upright panel stands on a narrow edge; a brim keeps it from coming loose mid-print. |
| Filament | White or natural PLA | Plain white shows the cleanest grey tones. Coloured or dark filament changes the contrast or blocks the light. |
These are common starting values from lithophane printing guides, not fixed rules. Print a small test strip with your own printer and lamp before a large panel.
Photo tips
Picking a photo that makes a good lithophane
The panel can only show the photo's brightness, so a little preparation makes a big difference.
Fill the frame with the subject
Faces, pets and landmarks work best when they take up most of the picture. Crop away empty background.
Look for clear lights and darks
Photos that run from bright highlights to deep shadows read well. Flat, hazy photos print as an even grey.
Brighten dark photos
An underexposed photo prints almost solid. Lift the shadows and exposure in a photo editor before uploading.
Skip tiny details
Text and patterns finer than a nozzle width (about 0.4 mm) disappear. Make the panel wider instead.
Colour photos work as they are
Only brightness is used. Strong reds and blues are darker than they look and print thick.
Plan the light source
A white LED a few centimetres behind the panel shows the full range. Test with a phone torch before you build a frame.
Is it the right tool?
What this lithophane maker does, and what it doesn't
A quick check before you upload, so you know whether this tool or another one fits your project.
Use it for
- Turning one photo into a single-colour lithophane: a flat panel for a frame, a curved panel for a night light or a cylinder for a lamp shade
- Setting the width (40–250 mm), curve angle (60–180°) or cylinder diameter (40–100 mm), thinnest point (0.4–2 mm) and dark-area thickness (1–5 mm)
- Checking a 3D preview before printing, with no account and no upload to a server
- Getting a closed STL or 3MF in millimetres that Cura, PrusaSlicer, Bambu Studio and OrcaSlicer open without repair
Not for
- Full-colour lithophanes, which need a multi-material printer and a colour layer
- Heart, round or other outline shapes, or a lamp base: it makes flat, curved and cylinder panels only
- A complete 3D object such as a figurine: the Hello 3D image-to-3D studio makes those and uses credits
FAQ
Lithophane maker questions
Short answers about making and printing lithophanes with this tool.
Sources
The tool's defaults and ranges come from its own code. The slicer starting points and thickness ranges come from these guides, checked on Nov 8, 2026.
- University of Novi Sad, GRID 2022 symposium paper: print orientation and layer height for lithophanes
- Bambu Lab forum: printing lithophanes flat or vertical
- 3D Insider: 3D printing lithophanes (infill, speed, brim)
- ItsLitho: slicer settings for lithophanes
- JLC3DP: lithophane 3D printing guide (thickness)
What changed on this page
Added curved (60–180°) and cylinder (lamp shade) shapes and a 3MF download. Both are built in the browser, like the STL.
Added what the maker does and doesn't do, and the sources behind the print settings.
First published: the lithophane maker, the thickness guide, the settings table and slicer starting points.
Need a full 3D model?
Turn a photo into a complete 3D object
A lithophane is a thin panel that shows your picture when lit. To get an object you can see from every side, such as a figurine, character or product, use the Hello 3D AI image-to-3D studio. It exports STL and 3MF for printing, plus GLB, GLTF, FBX, OBJ and USDZ.
AI generation uses credits; this lithophane maker stays free.